


How To Make a Screen Capture With Windows' Snipping Tool

It's often helpful to take an image of your screen when working with tech support or showing someone how to perform a task. Windows has a built in Snipping Tool to capture what you see, and to mark up the image.
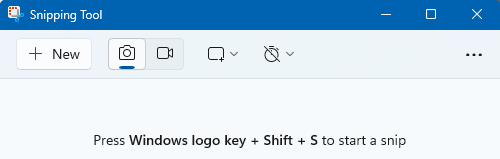
To open the tool simply search Windows' menu for "snip." In Windows 11 it looks like this:
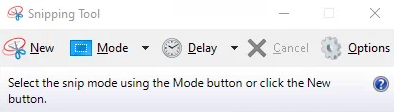
In Windows 10 it looks like this:
The New button, or keystroke shown, will start a new snip. This hides the Snipping Tool window to get it out of your way. Click and drag your mouse to select a rectangle and capture that portion of your screen. The clock icon sets a delay timer, which is useful to allow you a few seconds to hover over a link, or show a dropdown, or anything that otherwise only shows temporarily.
In Windows 11, the Camera/Video choice is to record a section of the screen as a video.
By default, images are automatically copied to the clipboard, for easy pasting into an email or document.
Edit An Image
After making a capture, new buttons appear in the middle of the toolbar:

- The pen icon on the left allows marking up the image, for example to draw an arrow or circle.
- Use the highlighter to highlight a portion of the image.
- For either of those icons, click it a second time to change colors or pen width.
- The third icon is an eraser to erase one "ink" line at a time, or all ink.
- The icon to the right of the ruler icon (
 ) facilitates cropping an image, to make it smaller.
 - The icon to right of that, with the three lines (
 ), will read text in your image and copy it to the clipboard, for an easy Optical Character Recognition (OCR).
 - The two arrows are for undo and redo.
Windows 10 has the pen, highlighter, erase, and other buttons, but they look different.
Saving An Image
By default, Windows 11's Snipping Tool saves every image you capture into your Pictures\Screenshots folder, by date. To save disk space, this can be turned off in the program's settings, accessed via the tree-dot menu on the far right of the program's toolbar.
Images can also be saved to disk using the save/floppy disk icon in the toolbar, after a capture and/or after editing.
May 2024
Send this article to a friend!
Subscribe to The ITS Connection
Related articles